Manual Enrollment requires instructors to input students' information directly into the system. This involves filling out fields such as student name, email address, student ID, and any other optional details such as groups.
Manual Enrollment is a straightforward method but can be time-consuming, especially for large numbers of students.
Did you know you can also enroll multiple students by just sending an invitation link
or by importing an Excel file.
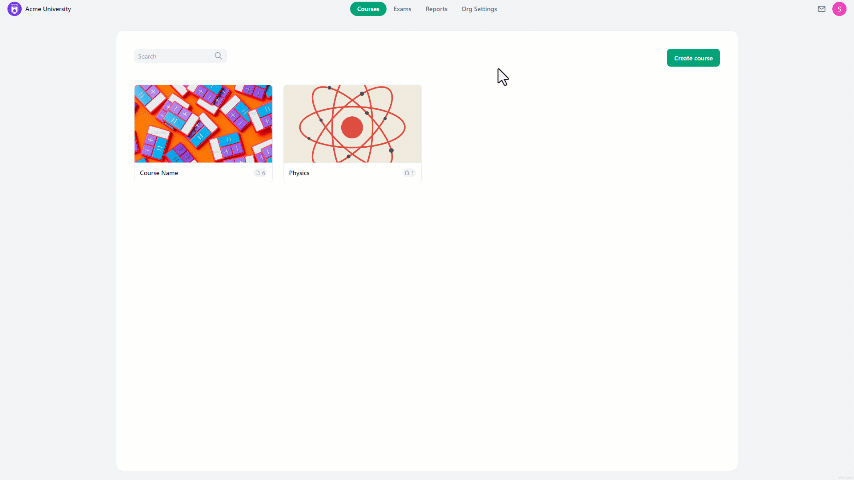
To add students manually to the organization:
- At the home page, navigate to organization settings.
- On the left side of the screen select students.
- In there, click on Add Students and select manually.
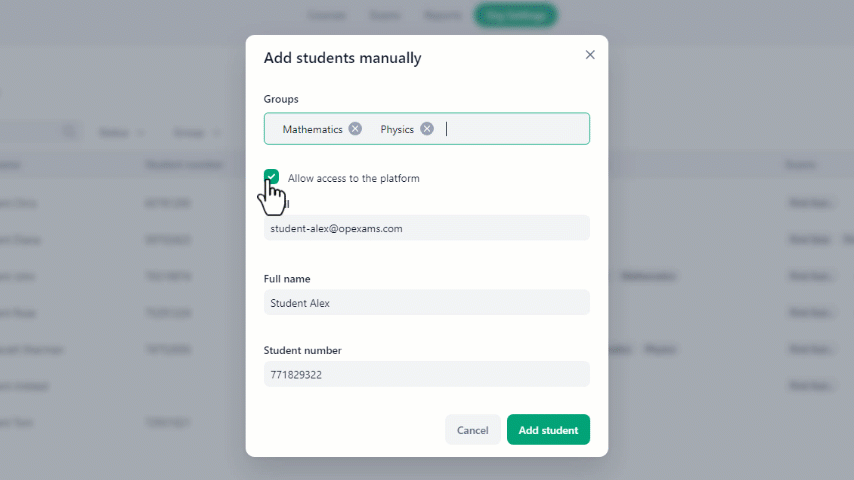
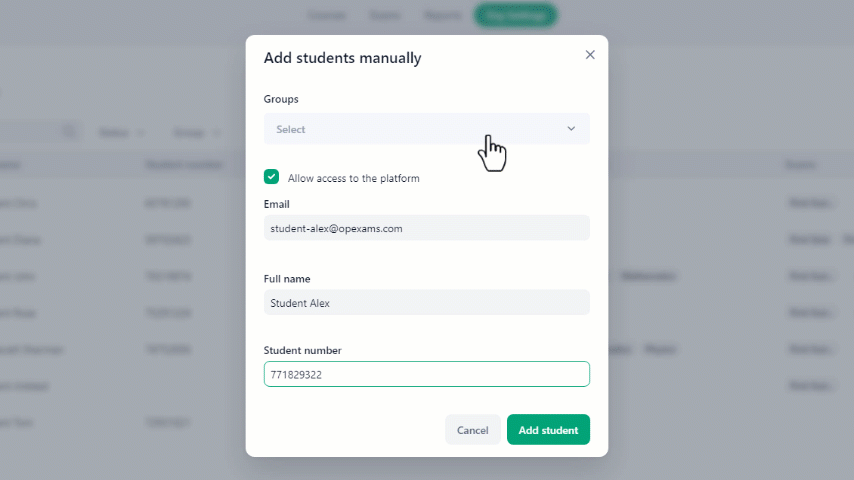
- Fill out the required information such as the student's email address, full name, and student number.
- Then click on the Add Student button to complete the process.
It is recommended to double-check the entered email before submitting it as an account with that name will be created if the receiver approves it.
You can choose to assign the student to specific groups by selecting it from the groups dropdown menu during enrollment, you can skip it if the groups are not defined yet.
Wondering what groups are for? you can visit Groups and Groups Management Article to learn more.
If you don't want the student to get an invitation email or you don't want to provide them access to the platform, simply uncheck the "Allow access to the platform" checkbox before clicking the Add Student button.