> ## Documentation Index
> Fetch the complete documentation index at: https://docs.opexams.com/llms.txt
> Use this file to discover all available pages before exploring further.
# Merging Your No-Email Account
> Learn how to merge your no-email account with an email account to preserve all your exam history, grades, and group memberships
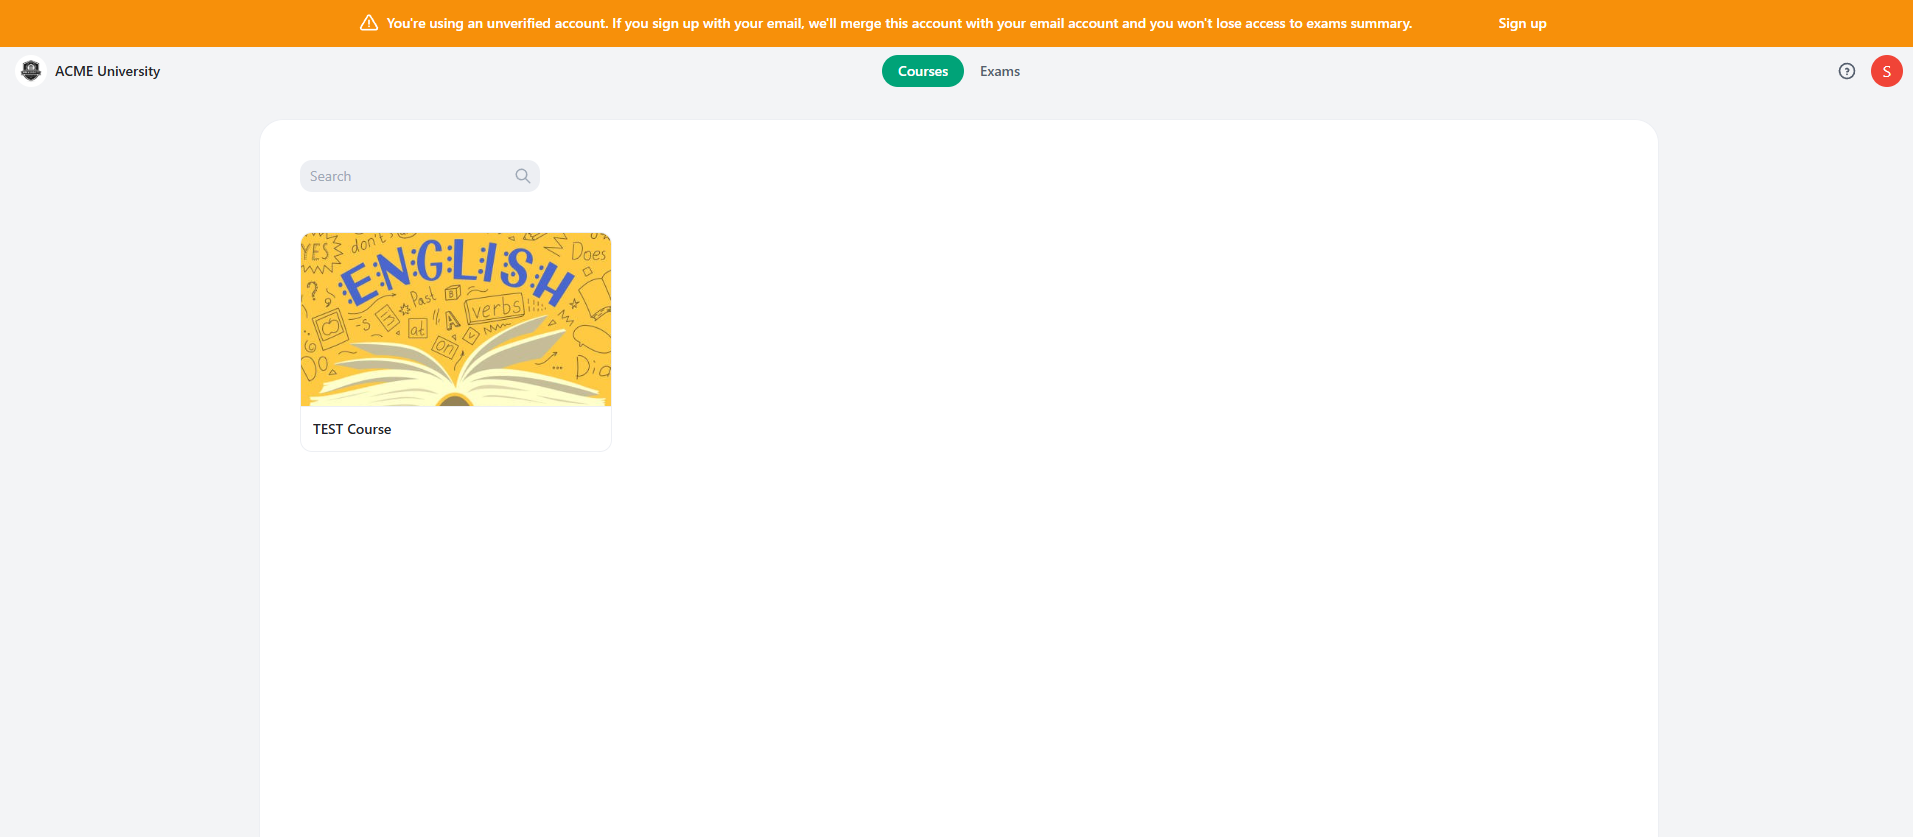
If you're using OpExams with a no-email account (an unverified account), you'll see a banner at the top of your screen prompting you to sign up with your email. When you do, the system will automatically merge your no-email account with your new email account, preserving all your data.
## When You'll See the Banner
The system displays a banner when:
* You're logged in as a student
* Your account doesn't have an email address (unverified account)
The banner appears at the top of the screen with an orange/warning color and includes a "Sign up" button.
## What Gets Merged
When you merge accounts, the following information from your no-email account will be preserved:
* **All exam attempts** - Every exam you've taken
* **Grades and scores** - All your exam grades and results
* **Group memberships** - All groups you were part of
* **Exam history** - Complete record of your exam participation
* **Student answers** - All your submitted answers
## How to Merge Your Account
1. **See the Banner**
When you're logged in with a no-email account, you'll see a banner at the top of your screen that says: "You're using an unverified account. If you sign up with your email, we'll merge this account with your email account and you won't lose access to exams summary."
The banner includes a "Sign up" button on the right side.
2. **Click the Sign Up Button**
Click the "Sign up" button in the banner. This will log you out and redirect you to the account creation page.
**Important:** After clicking "Sign up", you must complete the signup or login process in the same browser tab. Do not open a new tab or navigate away, as the system needs to track your old account ID through the URL to merge your data.
3. **Sign Up or Login with Email**
You'll be redirected to the account creation/login page. **Stay in the same browser tab** and either:
* Create a new account using your email address, or
* Login if you already have an OpExams account with that email
Do not open a new tab or close this browser tab. The system needs to track your old account ID through the URL parameter (`old-user-id`), which is only available in the same tab where you clicked the "Sign up" button.
4. **Account Merge Happens Automatically**
Once you sign up or login with your email address, OpExams automatically detects your previous no-email account using the `old-user-id` parameter and merges them together.
All your previous data (exams, grades, groups) will now be associated with your new email account.
5. **Verify Your Data**
After the merge is complete, verify that all your information is present:
* Check your exam history
* Review your grades
* Confirm your group memberships
* Verify your exam summaries are accessible
## Important Notes
The account merge happens automatically when you sign up or login with an email address. You don't need to do anything special - just click the "Sign up" button in the banner and complete the signup/login process in the same tab.
**Critical:** You must complete the entire signup/login process in the same browser tab where you clicked the "Sign up" button. If you open a new tab, close the tab, or navigate away, the system will not be able to merge your old account data because it won't have access to your old user ID.
## Why Same Tab Matters
The system uses a URL parameter (`old-user-id`) to track your previous account. This parameter is only available in the same browser tab where you clicked the "Sign up" button. If you:
* Open the signup page in a new tab
* Close the browser tab
* Navigate to a different page
The `old-user-id` parameter will be lost, and the system won't be able to merge your accounts.
## Troubleshooting
### I Don't See My Old Exams After Merging
If you don't see your previous exam data after merging:
1. Make sure you clicked the "Sign up" button from the banner (didn't manually navigate to signup)
2. Verify you completed the signup/login process in the same browser tab (didn't open a new tab or navigate away)
3. Check that you used the same email address consistently
4. Contact your instructor or OpExams support if the issue persists
### I Accidentally Opened a New Tab
If you opened the signup page in a new tab:
1. Close the new tab
2. Go back to the original tab where you clicked "Sign up"
3. Complete the signup/login process in that original tab
4. The system will be able to merge your accounts correctly
### The Banner Disappeared
If the banner disappeared:
1. Make sure you're logged in as a student
2. Verify your account doesn't have an email address
3. Refresh the page - the banner should reappear if you meet the conditions
4. If it still doesn't appear, you may have already merged your account or your account already has an email
## Need Help?
If you encounter any issues during the account merge process, please contact your instructor or reach out to OpExams support for assistance.